Tuesday, January 19, 2016

Sparrow Progress 3

      Fitting in a few cockpit components, making sure the glass still fits over everything. The thrusters are going to look really cool, I think. I had to re-carve out some of the area at the bottom so that the fin could fit inside of the wood, kind of messy, but nobody will really see it.


Flip-flopping on potential colors; I've been really drawn to entire washes. They are both really memorable and stand out really well against abysmal backgrounds.


Next step is to fit some these unmoving pieces together, probably with some wood glue so that I can fill in an awkward gaps between the balsa wood and the plastic pieces. All in all, I'm really happy with how it's turning out. It's still a bit of a mess, but it is super lightweight and really posable. Both of those things will be kind of invaluable when it starts getting animated.

[image credits:
Voyage to the Forbidden Planet // Chris Foss
Translucent Worlds // John Harris
Retro Rocket // Les Edwards]

Sunday, January 17, 2016

Sparrow Progress 2

      I did a bit more gathering to find all the major pieces for the ship. Wood is still pretty rough in this one, and I still have to carve out some spaces for the thrusters.


I went ahead and carved out the space for the windshield, or whatever it's called. SPACE windshield. The picture is kind of bad, the underlying wood still needs to be sanded. I think this is the last time I work with balsa wood, this stuff breaks just from sneezing at it. I have to add in a little part underneath the front part of the glass because the part I was leaving on broke off when I was cutting out the cockpit area.


Saturday, January 16, 2016

Sparrow Progress 1

        The Sparrow is the ship that I'm going to be animating. It's going to have a number of movable parts, which will prove to be an interesting building process since I want to keep it really mechanical. Most pieces before have been characters and other organic bits, which didn't need such defined articulation. That said, a lot of the materials for this little guy are going to be a lot different than what I'm used to.

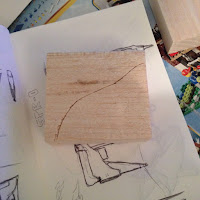
The main piece is going to be carved out of wood, since it's a pretty specific form.

Balsa wood is eazy peeezy


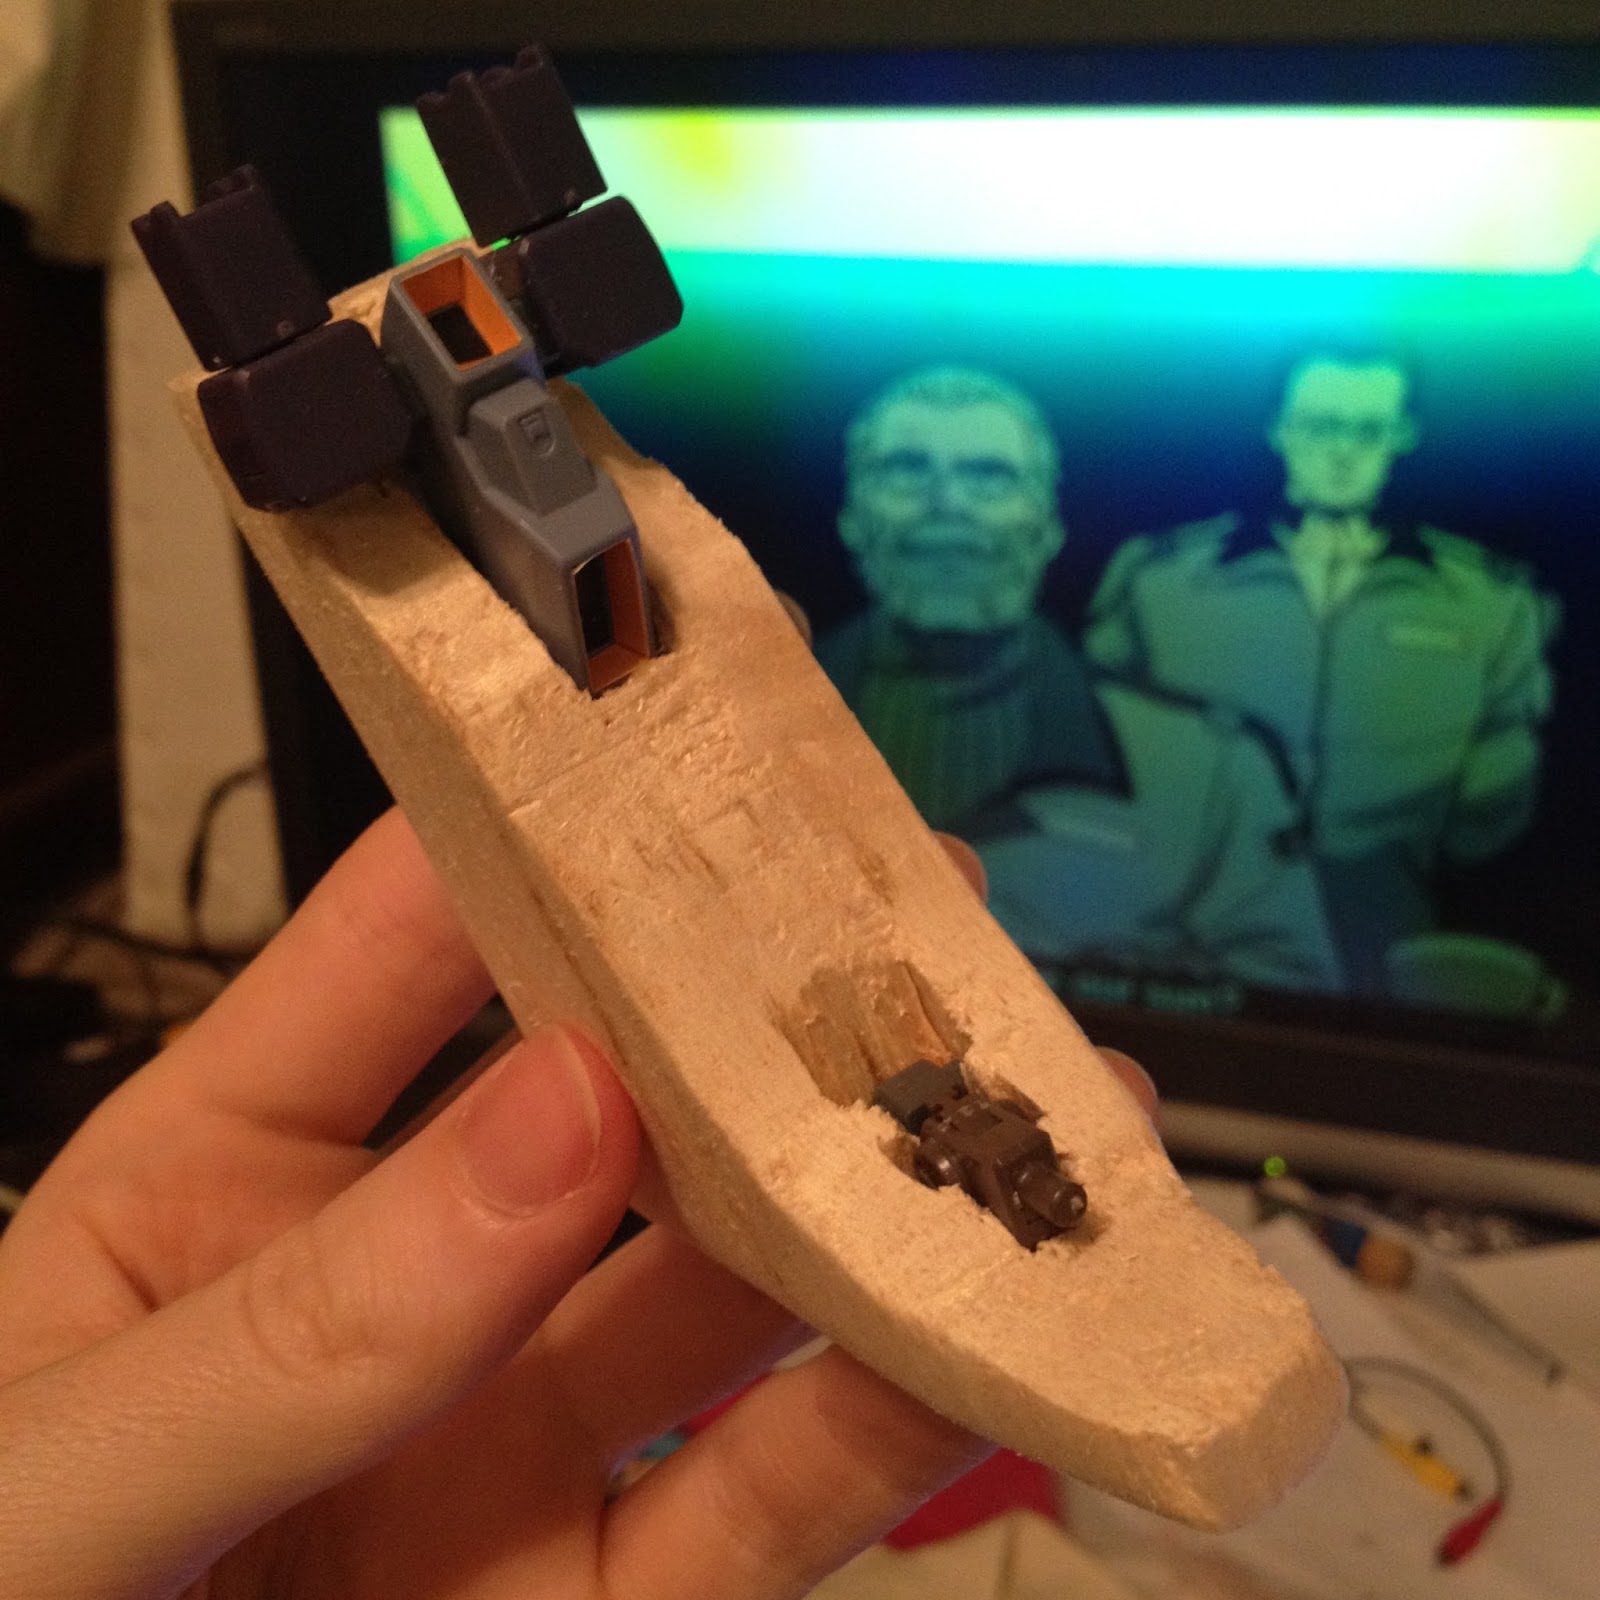
        I've smoothed it a bit more, and tried to make it symmetrical enough- but I wont break my brain over it quite yet. I may ultimately wrap something over the front for a sleeker texture. I've appropriated some small joints and things from a few different model sets:


      I'll probably be using a few more pieces from these for the fins and smaller details, but I don't want to get carried away yet. I figured the best next step would be to make some spaces for the joints to be glued in. The 3 main moving parts are the 2 top fins and the single bottom fin. All of them are able to shift up/down and rotate in place. It's a bit of a frankenstein, and the overall design wont be as economic, but it functions ok. I wanted to make sure these would be good to go before working on the wood piece any more.

Neat

    I'm gonna sleep on it. Next chance I get to work on it, I'll probably be taking a look at the front end and fitting the cockpit into place.

Friday, January 15, 2016

Unnamed Spare Project

Starting work on something of my own, this is only kindling really. Feels good to be drawing again.


Thursday, September 25, 2014

Skull Bounce Test

          For this scene I needed the skull to bounce away from the skeleton, shot from a straight-forward angle. The method I attempted utilized a crane-like rig that held the skull from behind:


While I have had rigs before, this was my first attempt at something so apparent in the shot. The crane was made out of wooden dowels, old k'nex pieces, and painted black to try and hide amongst the black mountains and fence in the shot. I would have just used a wire, but I wanted to be able to control the rotation of the skull. To make it a smoother process I went ahead and clipped off the head before the animating began, so for the first moment the skull is actually just resting on the body. The rig required a hefty amount of post production to get rid of. I'm no Michelangelo with after effects, but I think it turned out alright:

BEFORE:


AFTER:


The majority of the work was taking bits of the sky & ground from other in-between-fence segments and transposing them over the parts with the rig that were showing frame by frame. That is part of the reason why there is a short pause in the beginning of the animation, so that I would have a tiny loop of static footage to use for masking it out that would still have a natural shifting grain to it. Add the color correction, bit of digital rain, and slight camera motion, and KAZAAM hopefully the finished shot for the final edit. 

Thanks for checking out the blog, and I hope this was interesting! 


Monday, September 8, 2014

In-Progress Stills

      A couple of new stills from the animation I've been working on. Officially started animating today, the lighting is working out really well, as I am still learning how to set up a believable - yet interesting - night scene. The backdrop is working better than I thought, I think this will be something to further explore. I'm all for practical effects, where applicable. 


     Next up is the skeleton popping out of the ground, I'm going to have to gather all my animation chops for this one as I haven't yet used model with so many joints. On a side-note my computer is holding together ok for this process. I am still having to delete a lot of things to make room for this, but I think it's definitely worth it.

Sunday, September 7, 2014

Pre-animation Graveyard

Some quick shots of the majority of the pieces I'll be bringing into the studio tomorrow to set up/possibly start animating. (try and ignore the awful lighting :P)